How to Clean Kitchen Floor: Keep Your Kitchen Clean 24/7
It’s undeniable that kitchen floors experience the most foot traffic, grease splatters, and spilled food! If not maintained and kept clean, our kitchen floors can wear and tear fast.
In this article, we’ll share with you the top tips and tricks on how to clean the kitchen floor. Let’s get started!
Understanding Different Types of Kitchen Floors
When it comes to kitchen floors, there are various materials commonly used.
We’ll share the common flooring types, including porcelain or ceramic tiles, natural stones like granite and marble, hardwood, laminate, and linoleum.
Each flooring type comes with its unique characteristics and maintenance requirements.
Utilizing Proper Cleaning Techniques for Each Floor Type
Understanding your flooring type helps to ensure appropriate cleaning methods are applied.
1. Ceramic or Porcelain Tiles
Porcelain or ceramic tile floors are water-resistant and durable. It’s a great choice for any kitchen expecting much foot traffic.
Clean ceramic tiles by regularly sweeping and mopping the floor with a damp mop. Use a mix of warm water and mild detergent, liquid dish soap, or a specialized tile cleaner.
Avoid using a sponge mop to clean tile floors since they push dirty water into the grout lines. Make sure to also dry the floor with a clean cloth afterwards. Excess moisture creates unwanted water spots.
A porcelain tile floor is also prone to grout stains. Make a paste out of baking soda and warm water when this happens. You can add a few drops of fresh lemon juice as a disinfectant too.
Using a soft bristle brush, scrub the grout lines with the paste. Rinse the grout lines with clean water, then air-dry or dry with a microfiber towel.
2. Natural Stone Kitchen Floors
Stone floors made of slate, marble, or granite require gentle cleaning to avoid damage.
Use a pH-neutral cleaner and avoid acidic or abrasive solutions that could harm the surface. That means lemon juice, vinegar, and other acidic ingredients are out of the picture!
You can use a diluted mixture of water and mild dish soap instead.
Regarding mops, we highly recommend a soft rag or mop for marble, a steam mop for slate, and a microfiber cloth for granite floors.
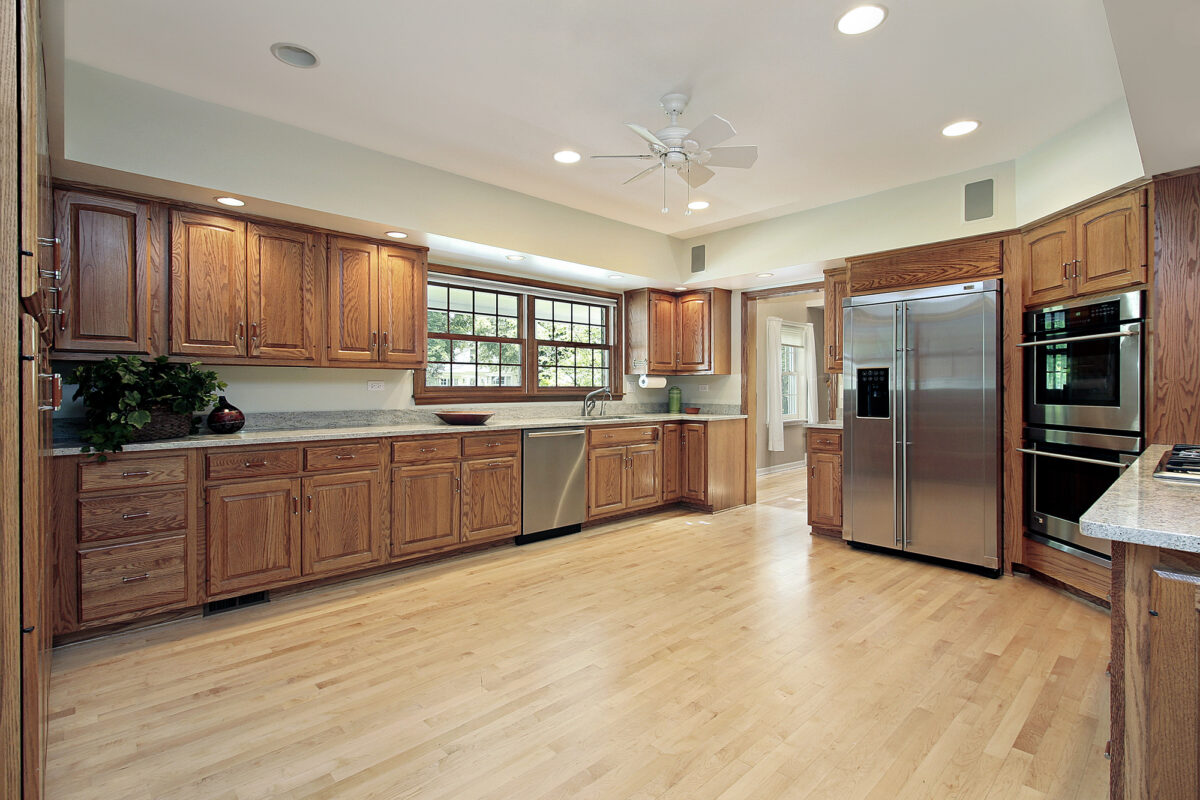
3. Hardwood Kitchen Floors
Wood floors are suitable for those who prefer a warm and cozy vibe in their kitchen. But cleaning them will require extra caution as they are susceptible to water damage.
Clean hardwood floors with regular sweeping and mopping. This keeps dirt and grime at bay.
Make sure to deep-clean hardwood kitchen floors at least once or twice a year too. A hardwood mop and specialized wood flooring cleaning product, diluted per the manufacturer’s instructions, is recommended to avoid dulling or scratching the finish.
When mopping, saturate the mop in the cleaning solution. Wring it almost dry so it feels only slightly damp to the touch. Wipe up any excess liquid, as standing water can damage wood surfaces.
Do not use products like Murphy Oil Soap and acrylic polish. These leave your floor looking dull, not gleaming and bright. Don’t use vinegar either. These can hurt the finish of the wood.
If you have bamboo floors, follow the same advice.
4. Laminate Flooring
Laminate floors are budget-friendly and easy to maintain.
Lightly mop with a mild laminate floor cleaner. Mixing a small amount of vinegar with water works too.
Afterward, dry the laminate floors with a microfiber cloth to prevent a cloudy finish.
Never use a steam cleaner or a dripping wet mop, as standing water could seep into the baseboards and cause warping. Never use wax, acrylic products, or bleach because they can be damaging too.
5. Linoleum Kitchen Floors
Linoleum floors are eco-friendly and resilient.
Clean linoleum kitchen floors using a mixture of water and distilled white vinegar, dish soap, or a mild linoleum floor cleaner in a bucket.
As per usual, don’t forget to wipe the floor dry after mopping.
Addressing Common Problems with Different Floor Materials
- Stains on tiles and grout – Make a paste out of baking soda and water or use a specialized grout cleaner to scrub off stubborn stains.
- Scratches on hardwood – Apply a hardwood floor polish or wax to minimize scratches and to bring back shine.
- Water damage on laminate – Promptly wipe up spills to prevent warping or bubbling.
- Fading on linoleum – Keep these floors out of direct sunlight.
How to Clean Kitchen Floor
Follow the following steps to successfully keep your kitchen floors tidy:
Gathering Necessary Cleaning Supplies
Before you start cleaning, make sure to have the following supplies:
- Broom or vacuum cleaner
- Damp microfiber mop or a soft mop for hardwood
- Bucket
- Mild detergent, liquid dish soap, or specialized floor cleaner
- Warm water
- Vinegar
- Baking soda (for stain removal)
- Clean, dry towels or microfiber cloths
Pre-cleaning: Sweeping or Vacuuming
Sweep or vacuum your kitchen floor to remove any dirt, loose debris, crumbs, dust, and even pet hair!
Make sure to cover every corner. Focus on spots that collect crumbs and grime the most, like by the countertop or trash bin.
Treating Stains and Spots
It takes a bit of elbow grease to clean the grout between tiles. But there’s nothing baking soda, water, and an old toothbrush can’t scrub off.
For wood floors, you can use some hydrogen peroxide and ammonia directly on grease stains using cotton balls. Keep them on the spot until the grease goes away.
Wet Cleaning: Mopping the Floor
Once you have your diluted cleaner in a bucket, dip your mops in, then wring it out.
To prevent damage, a laminate, linoleum, or hardwood floor is best cleaned with only a slightly damp mop. Don’t use sponge mops on these.
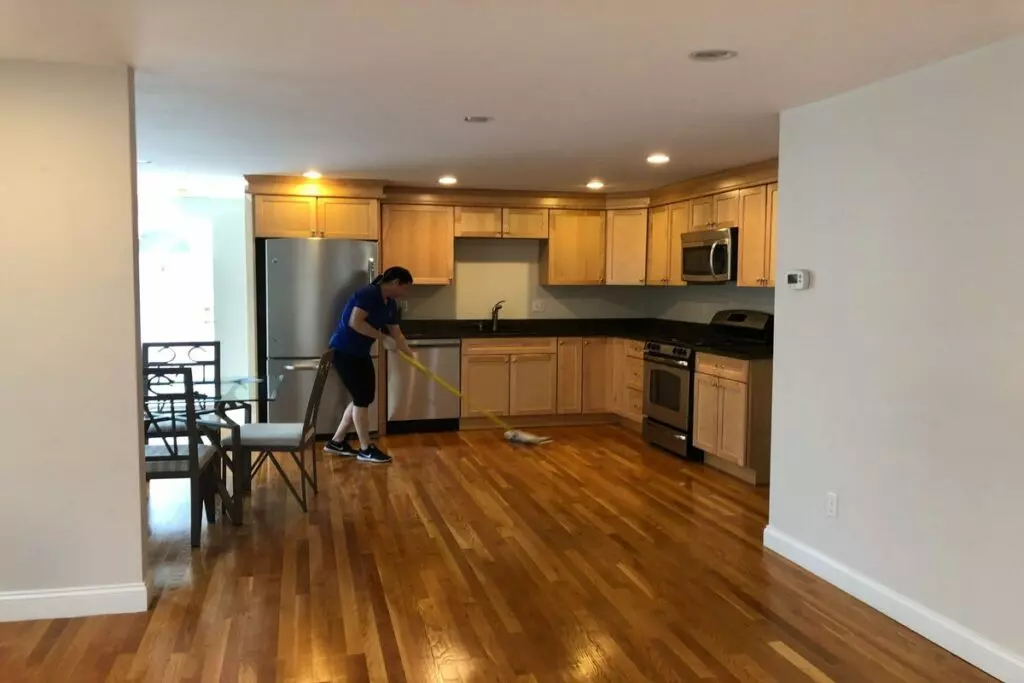
Start in a corner and work your way out. We recommend mopping in a circular, figure-8 motion for optimal coverage. If you are mopping on wood, mop following its wood grain direction.
Rinse out your mops in a separate bucket so the dirty water does not transfer into your floor cleaner.
Drying and Buffing the Floor
After mopping, go over the floor with a clean, dry towel or microfiber towel to remove any excessive moisture. This prevents water damage or streaks.
However, some floors will air-dry completely on their own.
Selecting the Best Cleaning Products
Keeping your kitchen floors clean is essential for maintaining a hygienic and welcoming space.
However, with the plethora of available cleaning products, it can be overwhelming to explore the best cleaning products for your kitchen.
Comparison of Popular Store-bought Cleaning Solutions
When shopping for cleaning products, read the labels and look for phrases like “safe for hardwood,” “ideal for ceramic tile,” or “suitable for laminate.”
This will ensure you choose a product specifically formulated for your kitchen floor’s needs.
Also, check for certifications, such as Green Seal or Environmental Protection Agency (EPA) Safer Choice, which indicate that the product meets environmental and safety standards.
Making Your Homemade Cleaning Solutions
For those who prefer a more natural approach or have allergies to certain chemicals, homemade cleaning solutions can be a fantastic alternative.
Here are some simple recipes to try:
- All-purpose Vinegar Solution
- Mix equal parts of distilled white vinegar and hot water in a spray bottle.
- Suitable for hardwood, laminate, tile, and stone floors (excluding marble).
- Do not use it on marble floors, as vinegar can cause etching.
- Baking Soda Paste
- Create a thick paste using baking soda and water.
- Suitable for tile and grout cleaning.
- Apply the paste to grout lines and scrub with a brush to remove stains and discoloration.
Tips and Best Practices For Cleaning Kitchen Floors
Check out these top tips on how to efficiently remove dirt and maintain your kitchen floors:
Scheduled Cleaning for Better Hygiene
First things first, make sure to follow the correct order in cleaning a kitchen, as mentioned above.
Next, plot a schedule for your kitchen floor cleaning. This will likely depend on how busy your household is.
Nonetheless, cleaning the kitchen floor is crucial for hygiene, safety, and aesthetics. Here are some tips for scheduled cleaning:
- Daily vacuum or sweep off loose dirt, crumbs, pet hair, food particles, and debris. This prevents them from scratching the floor.
- Wipe up spills and stains as soon as they happen. Liquids like oil, sauces, or acidic substances can damage some floor types if left for too long.
- Mop the floor at least once a week. Use a damp mop with a suitable floor cleaner to remove stubborn stains and sanitize the surface.
- Every few months, consider a deep cleaning session for your kitchen floors. This involves more thorough scrubbing and cleaning to eliminate accumulated grime and dirt.
Using Environmentally Friendly Cleaning Methods
Cleaning your kitchen floors with environmentally friendly methods benefits the planet and ensures a safer and healthier home environment. Here are some eco-friendly cleaning tips:
- Choose cleaning products labeled as eco-friendly or biodegradable. Look for options with fewer harmful chemicals, phosphates, or volatile organic compounds (VOCs). These release harmful fumes into the air.
- Create eco-friendly cleaning solutions using simple ingredients like vinegar, baking soda, lemons, and essential oils.
- Opt for microfiber cleaning cloths instead of disposable paper towels. Microfiber cloths are reusable and washable.
Proper Maintenance for Longer Lasting Floors
To ensure your kitchen floors look beautiful for years, follow these maintenance tips:
- Place doormats at the entrances of your kitchen to trap dirt and prevent it from spreading across the floor.
- Avoid excessive moisture to prevent warping and damage.
- Place area rugs or mats in high-traffic areas or near the sink to protect the floor from spills and wear.
- Consider periodic professional maintenance for specific floor types, such as natural stone or hardwood, to restore their original luster and appearance.
Frequently Asked Questions
Check out the answers to these top 5 FAQs on how to clean kitchen floor:
What’s the Best Homemade Cleaning Solution for Kitchen Floors?
The best homemade floor cleaner depends on the type of kitchen floor:
For laminate flooring, ceramic tiles, and linoleum: Mix equal parts water and vinegar.
For natural stone and wood floors: Mix water with a small amount of mild dish soap.
How Often Should I Clean My Kitchen Floor?
Generally, daily sweeping or vacuuming to remove loose debris and crumbs is recommended.
For regular mopping, once a week is sufficient for most households. However, if your kitchen sees heavy use or you have young children or pets, you may want to mop every 2-3 days.
Deep cleaning can be done every few months, depending on how much dirt and grime build-up.
Can I Use Vinegar as a Cleaning Solution for My Kitchen Floor?
YES, vinegar mixed with water can be used as a cleaning solution for ceramic tile, laminate, and linoleum.
However, avoid using vinegar on hardwood floors and natural stone floors like marble, limestone, or travertine, as it can damage the finish.
How Do I Remove Hard Stains From My Kitchen Floor?
For hard stains on tiles and grout, create a paste of baking soda and water. Apply the paste to the stain, let it sit for a few minutes, scrub gently, and then rinse.
What’s the Best Mop for Kitchen Floors?
The best mop for kitchen floors depends on the floor material and personal preferences. Here are some popular options:
Microfiber mop – gentle, effective, and traps dirt and dust effectively. They are also reusable and easy to clean.
Sponge mop – highly absorbent, making them ideal for spills and liquid messes.
Spray mop – convenient, with a built-in cleaning solution dispenser.
Flat mop – ideal for quick and light cleaning on most kitchen floor types.
Conclusion
Understanding the different types of kitchen floors is crucial for maintaining their beauty and durability.
By utilizing proper cleaning techniques, gathering the right supplies, and addressing common problems, you can surely keep your kitchen floor in excellent condition!
Written by
Maria DeSouza

Maria De Souza is a committed and accomplished entrepreneur in the cleaning industry, possessing an extraordinary blend of leadership, vision, and knowledge. As the proud owner of Onix Cleaning Services in Boston, Massachusetts, Maria has over two decades of experience in the industry, delivering unparalleled service and maintaining the highest standards of cleanliness.
